
How to make embroidery designs for a machine
Digitizing turns a drawing into a stitch file. Brother, Hatch, Embrilliance, and Ink/Stitch each state what their tools do with a JPEG, then a trial sew comes before the project fabric.
Published · Updated
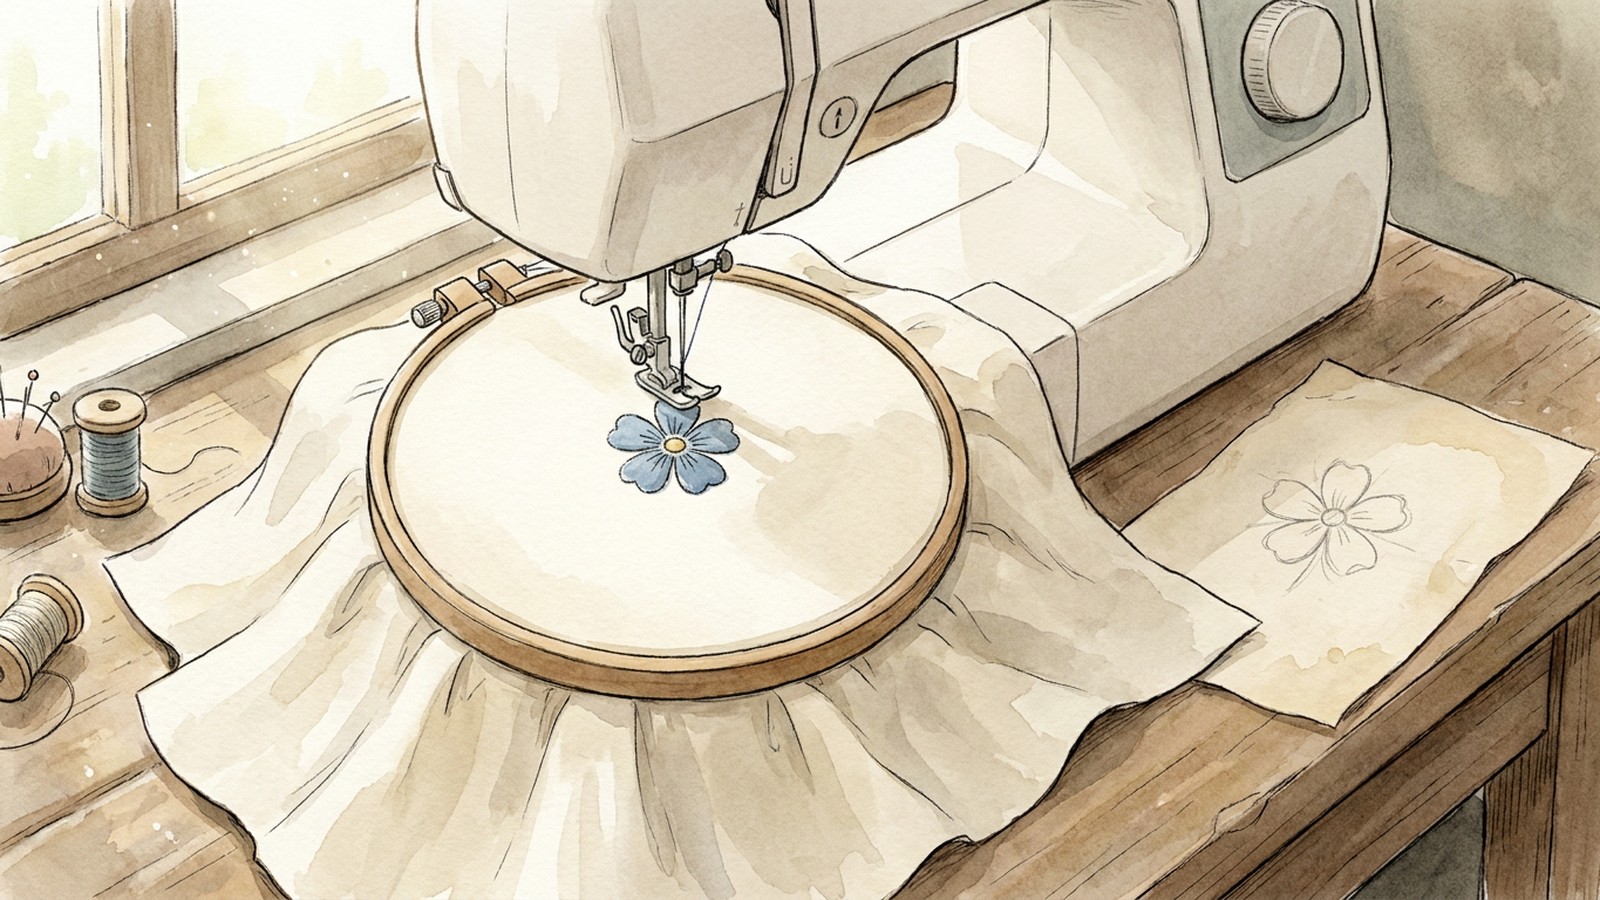
You can make your own designs for an embroidery machine by digitizing the drawing, saving the stitch file that machine reads, and sewing a trial before the project fabric. Brother's PE-DESIGN manual says an embroidery pattern can be created from a digital camera photo, a scanned illustration, or a clip art image (Stitch Wizard). A ready stitch file is the shorter path when you want a simple flower and you would rather sew than digitize.
Hand stitches and a machine file
Cutesy Crafts' beginner page is a hand-embroidery lesson: gather fabric, thread, needles, a hoop, and tracing supplies, transfer a pattern, and stitch by hand (How to Embroider by Hand for Beginners). That is one way to make an embroidery design. A machine follows a stitch file instead. The rest of this page is that file: what digitizing is, which programs start from a JPEG, the limits each vendor states for its own tools, and a test sew.
What digitizing is
Embrilliance calls this process embroidery digitizing: you control the shapes, set the stitch type and properties, and the software generates the stitches (StitchArtist). Ink/Stitch describes stitch types as the foundation for the digitizing process (Ink/Stitch). Wilcom's stitch guide describes satin as a stitch for borders, lettering, and detailed designs, and says satin is not recommended for large areas, while tatami is designed for filling large areas (Satin stitch and tatami stitch).
To design your own embroidery pattern for a machine, mark which parts are a narrow satin column, which parts are a fill such as tatami, and which parts are a running line. The pencil drawing is the artwork. Digitizing is the step that turns that artwork into needle commands and saves them as a machine file.
Software that builds the file
A page from one company is evidence for that company's program.
Brother PE-DESIGN can create the pattern from a photo, a scanned illustration, or clip art (Stitch Wizard). Its import list includes Windows bitmap (.bmp), Exif (.tif, .jpg), Portable Network Graphics (.png), and GIF (.gif) (Importing Image Data). Raster files such as .bmp and .jpg can sit as a background, or they can be converted to embroidery patterns with the Image To Stitch Wizard (Importing vector images).
Wilcom's site calls Hatch its embroidery software for home users and says Hatch enables simple digitizing for personal projects (Satin stitch and tatami stitch). Hatch's own page says you import artwork, then use the auto-digitizing function to convert the image into embroidery, manually digitize for more complex and intricate designs, or combine the two so you add detail after the auto tools (How to Create Your Own Embroidery Designs).
MaggieFrame Store's digitizing guide says to simplify the artwork before tracing: remove extra detail, avoid small text and thin lines, and keep solid shapes (How to Make Your Own Embroidery Pattern for Machine). That guide's example assigns stitch types, sequences the colors, and adds underlay stitches, and it says to combine auto-digitizing for backgrounds with manual detail work (How to Make Your Own Embroidery Pattern for Machine).
Embrilliance StitchArtist creates designs from scratch. You start from existing artwork or by drawing with stitches (StitchArtist). The same page says StitchArtist is not a photo-to-stitch tool, nor an autodigitizing program.
Ink/Stitch is an open-source digitizing platform based on Inkscape, and the project describes itself as based on free, open-source software (Ink/Stitch). It lists PES among the embroidery formats it can write, along with DST, EXP, JEF, and VP3 (File Formats).
Limits of auto-digitizing
Each limit below is what that vendor says about its own tool.
Brother's Auto Punch import step says to use images with few and distinct colors with that tool (Importing image data). Design Center says its color and sewing settings are more detailed than Auto Punch, and that the images to use have few and distinct colors (Basic Design Center Operations). The same page says images or photos that are intricate or have gradations are unsuitable because outlines are hard to extract (Basic Design Center Operations).
A photo has separate wizards. One photo tutorial creates embroidery patterns from photos, and that stitching is detailed and overlapping (detailed overlapping stitching). A second photo tutorial also starts from a photo and uses repeating zigzag stitches, which that page calls a more general rendering with well-regulated stitching (repeating zigzag stitches). In PE-DESIGN, turn a photo into an embroidery design with those photo tutorials. Keep Auto Punch for a picture with few distinct colors (Importing image data).
Hatch treats manual digitizing as the option for more complex and intricate designs, and says combining the methods means you digitize some areas by hand to add detail after the auto tools (How to Create Your Own Embroidery Designs). That is Hatch describing Hatch.
Embrilliance says StitchArtist is not a photo-to-stitch tool and not an autodigitizing program, and that the success of those types of tools is subjective (StitchArtist). Read that as Embrilliance describing its own program and its view of automatic tools. It is not a stitch-out test of Hatch or PE-DESIGN.
Ink/Stitch's workflow says the design needs to be in vector format (SVG), and that you can import an existing picture and build vector shapes on top of it or use Inkscape auto-tracing (Workflow). The same page says auto tracing often creates tiny or fragmented objects, and it points you to a cleanup step before stitch settings (Workflow).
From a JPEG to a PES file
You can convert a JPEG to a PES file when the software both reads the picture and writes .pes. Brother's import list includes Exif .jpg (Importing Image Data). A .jpg can be converted to an embroidery pattern with the Image To Stitch Wizard (Importing vector images). On that wizard, you select the conversion method after the image is imported (Image To Stitch Wizard).
The saving page refers to saved .pes files, including a .pes file saved for a previous software version, and it can export the Design Page as another format, including .dst and .jef (Saving). If the pattern was built in Design Center as a .pem file, import it into Layout and Editing and save it as a .pes file. Design Database says a .pem file is not displayed, since the machine cannot read it (Starting Up Design Database).
To create a PES file for embroidery, save from software that writes .pes. Ink/Stitch writes PES after the artwork is vector shapes (File Formats). In that workflow a JPEG is a reference you trace, then you save the embroidery file (Workflow).
Which file a Brother model reads, and how to send it, is covered in Brother embroidery designs.
Sew a test before the project fabric
Brother's PE-DESIGN introduction says the final result will depend on your particular sewing machine model, and it recommends a trial sewing sample with your sewing data before sewing on the final material (trial sewing sample).
Ink/Stitch's test run says to prepare a test fabric that closely matches the final material, use the same stabilizer and the same fabric type, and watch for gaps and for stitches packed so tightly that the machine struggles (Workflow). The same page says those signs usually mean the density should be adjusted before the final piece, and that a knit shirt needs a similar knit because knits require substantial stabilization (Workflow). Hooping a towel and a shirt are covered in how to embroider on towels and embroidery designs for shirts.
A ready file is the shorter path
Digitizing is the route when the drawing is yours and you want to control the stitches. When the design you want is a simple flower, a ready stitch file is the shorter path.
A simple floral design is coming soon at $4.99.
If you want a name with the flower, lettering is a separate stitch file, covered in embroidery design fonts. To load lettering into Embrilliance, see how to add fonts to Embrilliance. A flower built from a fabric piece, rather than a filled stitch area, is covered in simple applique designs.
The limit of this route is the picture and the machine. Brother says the sewn result depends on the model, and each vendor above is describing its own tool. A trial on matching fabric is the check before you commit the project cloth.
Questions
What is digitizing in embroidery?
Embrilliance calls the work embroidery digitizing: you set the shapes and the stitch type, and the software generates the stitches (StitchArtist). The saved result is a stitch file, such as the .pes file Brother's Design Database page tells you to save (Starting Up Design Database).
Can I make my own designs for an embroidery machine?
Yes. Brother's Stitch Wizard creates an embroidery pattern from a digital camera photo, a scanned illustration, or a clip art image (Stitch Wizard). Ink/Stitch is a free, open-source digitizing platform (Ink/Stitch) that writes PES (File Formats).
How can I create designs for my embroidery machine?
Import the artwork, assign stitch types, save the file your model reads, and sew a trial on matching fabric before the project (trial sewing sample). Hatch lists auto-digitizing, manual digitizing, or both (How to Create Your Own Embroidery Designs).
How do I design my own embroidery pattern?
Draw or import the artwork, then choose a stitch type for each shape. Wilcom describes satin for borders, lettering, and detailed designs, and tatami for filling large areas (Satin stitch and tatami stitch).
How to create an embroidery pattern for a machine?
Brother's Image To Stitch Wizard converts an imported image into an embroidery pattern (Image To Stitch Wizard). Save that pattern as a .pes file (Starting Up Design Database). Which Brother model reads it is covered in Brother embroidery designs.
How do I digitize my own embroidery designs?
Import the picture, set stitch type and order, then save a machine file. Embrilliance StitchArtist starts from a background image and has you draw the stitch shapes over it (StitchArtist).
Can you convert a jpeg to a pes file?
Brother's import list includes Exif .jpg (Importing Image Data), and a .jpg can be converted with the Image To Stitch Wizard (Importing vector images). Layout and Editing then saves .pes files (Saving).
Can you turn a jpeg into a PES file?
Yes, by converting the picture into stitches and saving .pes. Brother's saving page refers to saved .pes files and exports other formats such as .dst from the Design Page (Saving).
How to create a PES file for embroidery?
In PE-DESIGN, import the design into Layout and Editing and save it as a .pes file (Starting Up Design Database). Ink/Stitch also lists PES among the formats it can write (File Formats).
Can I make my own PES file?
Yes. PE-DESIGN's Design Database page says to save the design as a .pes file because a .pem file is not displayed for the machine (Starting Up Design Database). Ink/Stitch writes PES after the artwork is vector shapes (Workflow).
How do I convert an image to a Brother embroidery file?
Open the image in PE-DESIGN, run the Image To Stitch Wizard or a Photo Stitch wizard, and save .pes (Image To Stitch Wizard). Sending the file is covered in Brother embroidery designs.
How do I turn my photo into an embroidery design?
In PE-DESIGN, one photo tutorial creates a pattern from a photo with detailed overlapping stitching (detailed overlapping stitching). Another uses repeating zigzag stitches for a more general rendering (repeating zigzag stitches).
How do you make your own embroidery designs?
For a machine, digitize and sew a trial sample before the final material (trial sewing sample). For hand stitching, Cutesy Crafts starts with fabric, thread, needles, a hoop, and tracing supplies (How to Embroider by Hand for Beginners).
Related
- DesignPlaceholder
Simple Floral Design
One filled flower for a towel or a shirt chest, in its supplied sizes.
Sources
- Cutesy Crafts: How to Embroider by Hand for Beginners (2026)
- Brother: Stitch Wizard: Automatically Converting an Image to an Embroidery Design (2026)
- Brother: Importing Image Data (2026)
- Brother: Importing vector images (WMF/EMF/SVG) (2026)
- Brother: Step 1 Importing image data into Layout & Editing (2026)
- Brother: Basic Design Center Operations (2026)
- Brother: Tutorial 6-3: Photo Stitch 1 (2026)
- Brother: Tutorial 6-4: Photo Stitch 2 (2026)
- Brother: Image To Stitch Wizard (2026)
- Brother: Saving (2026)
- Brother: Starting Up Design Database (2026)
- Brother: Congratulations on choosing our product! (2026)
- Wilcom: Mastering Basic Stitch Types: Satin Stitch and Tatami Stitch (2024)
- Hatch Embroidery: How to Create Your Own Embroidery Designs? (2023)
- MaggieFrame Store: How to Make Your Own Embroidery Pattern for Machine: Complete Digitizing Guide (2025)
- Embrilliance: StitchArtist (2026)
- Ink/Stitch: Ink/Stitch (2026)
- Ink/Stitch: File Formats (2025)
- Ink/Stitch: Workflow (2026)